How to install Oxide and Oxide plugins
Note: Running a Steam Update after installing Oxide will uninstall it.
You will either need to run the new Steam+Oxide Update button on your Game Panel, or run an Oxide update from the Updates tab after manually running a Steam Update.
Installing Oxide
You will first need to login to your Game Panel and open the Mod Manager.
From here install the Oxide mod.
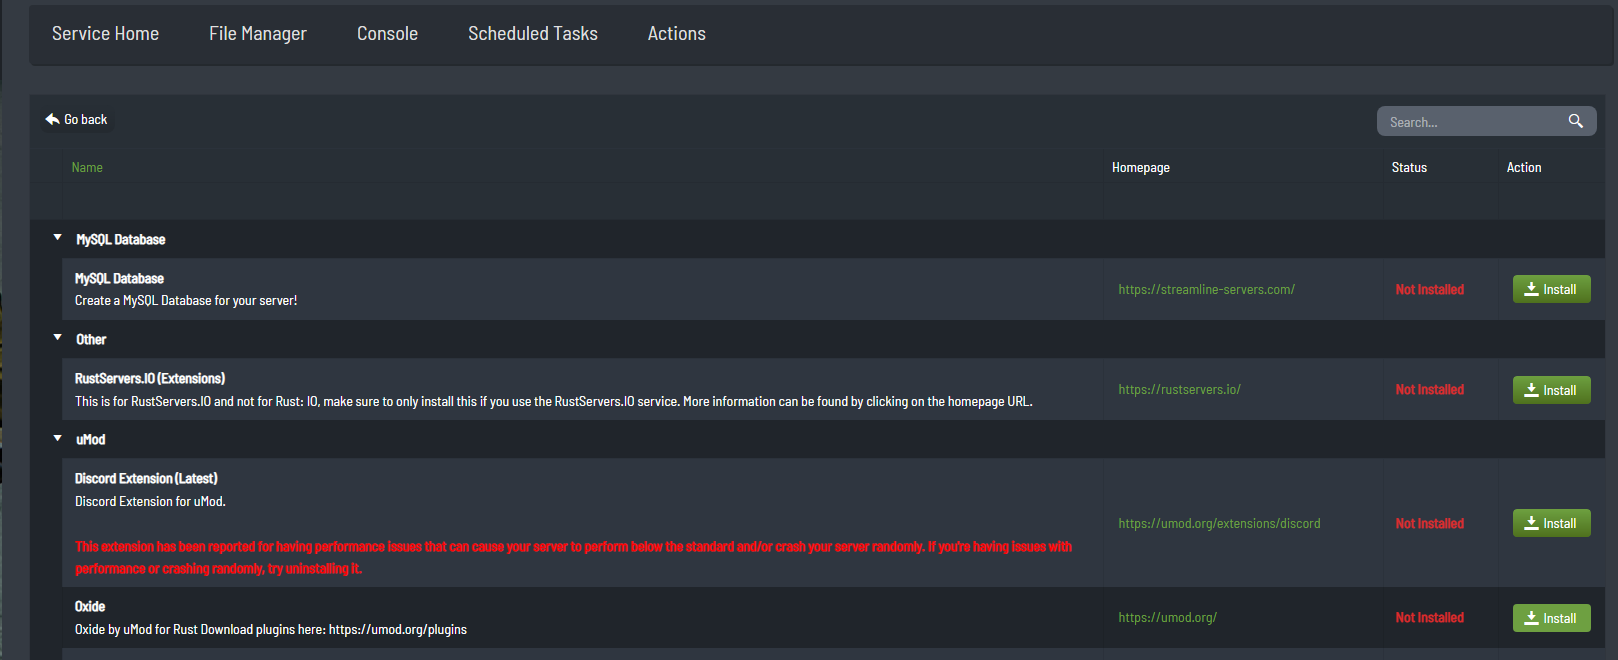
Once installed, you will need to start your server at least once in order for Oxide to generate its file structure and be able to add plugins.
Installing Plugins
We suggest having your service stopped while installing Rust plugins.
Go to the following website, find a plugin that you wish to use and download the file.

Once downloaded you will have the mods file.
In this case I have downloaded AdminAutoTeams.cs
Go to your Game Panel and open your File Manager.
Browse to the File Manager > \oxide\plugins\
(If you are unable to find the above directory, please ensure you have started your service at least once with Oxide installed)
Click the Upload button at the top of the File Manager, and select your mod file to upload.

Once starting your service your new mod should be installed.
Please remember to check the documentation for the mods on the pages you have downloaded them from, as some mods require additional configuration.