Arma 3 is a very CPU (central processing unit) intensive game. There are several things going on during a session that requires the CPU’s attention, and because a CPU cannot do more than a handful of calculations at any point in time, potential bottlenecks can arise for Arma servers.
Missions that contain a large amount of AI (artificial intelligence), objects, or scripts can result in degraded performance. Headless clients are a way to potentially mitigate performance the performance degradation that can happen in Arma 3 servers.
For additional information about headless clients, you can view Arma's official wiki page here: https://community.bistudio.com/wiki/Arma_3_Headless_Client
The following guide shows how to set up a headless client for an existing Arma 3 server.
NOTE: Your server must be running a mission that is set up for supporting a headless client for this to work properly
Step 1: Go to your game panel for your main server and open your Configuration Files
Step 2: Open your server.cfg and enter the IP to your headless client service next to headlessClients and localClient before saving the file
Make sure to remove the // at the beginning of the those lines to activate.
Step 3: Go to your game panel of your headless client service and open your Commandline Manager
Step 4: Create a new custom commandline, and enter the IP:Port to the server your headless client is connecting to before saving this commandline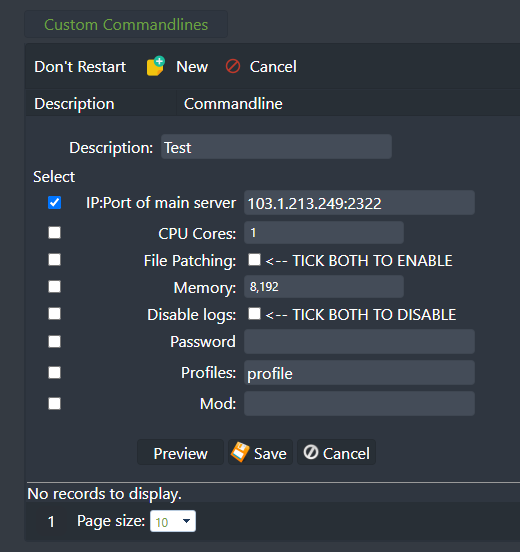
Step 5: Start the main server and then the headless client for it to connect and initialize