This knowledgebase will show you how to install and configure the Atlas Web Map Viewer Mod on Streamline Servers.
Step 1 ) Stop your server master server
Step 2 ) Go to the Mod Manager on the master server and install "Atlas Web Map Viewer"
(If you are using the default streamline 1x1, you can now Start your server, Press the Start Atlas Map Viewer button, and then click on the View Web Map button to view your map.)
Step 3 ) Open Configuration Files, and open the config.js in the text editor.
Adjust your server grid size within by changing the ServerX and ServerY values. (X is left and right, Y is up and down)
eg, for a 2x2 grid.
ServersX: 2,
ServersY: 2,
Step 4 ) Download the Server Grid Editor from Github (Click clone or download then download ZIP on the below link)
https://github.com/GrapeshotGames/ServerGridEditor
Extract the server editor and launch it.
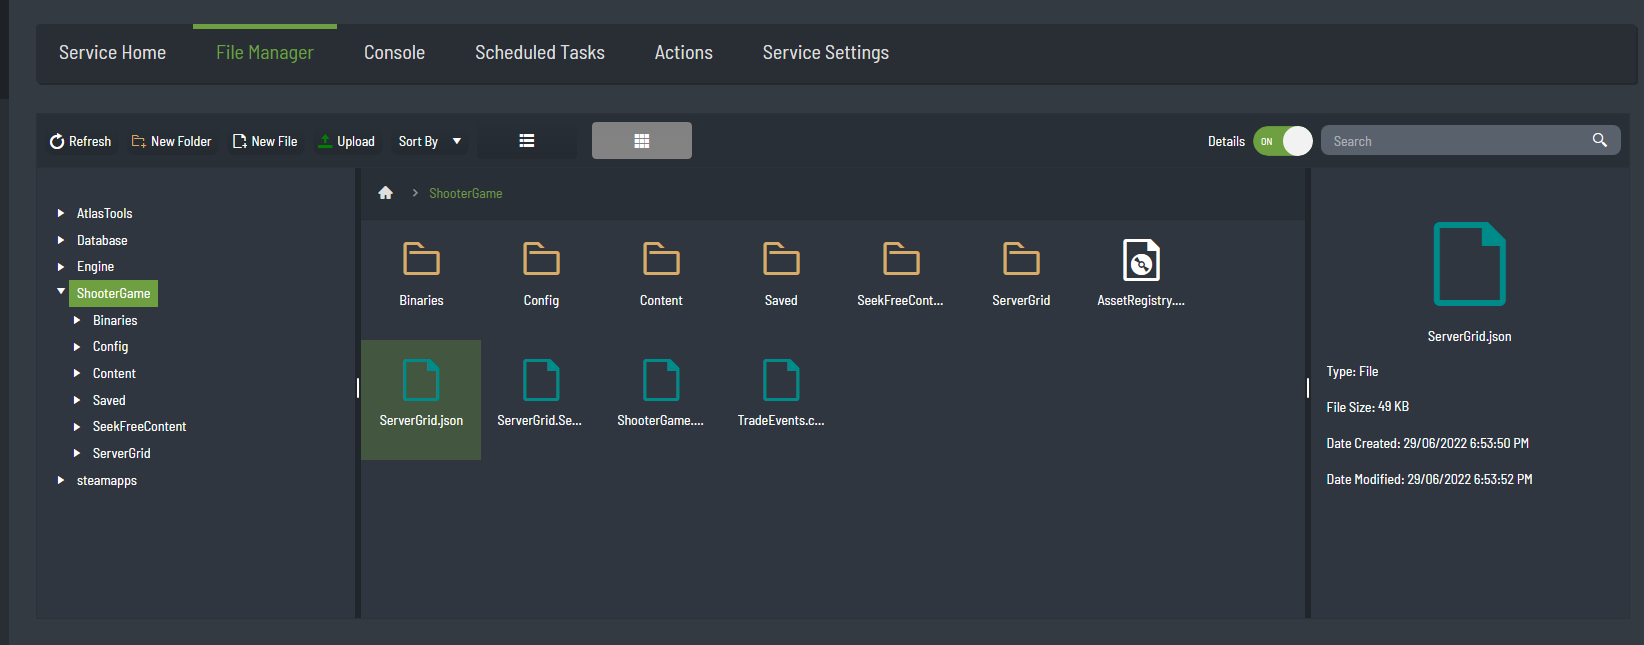
Step 5 ) Open the File Manager on your Master servers Game Panel, browse to \ShooterGame\ and download the ServerGrid.json to your PC
Step 6 ) Go back to the Server Editor, and press load project, browse to where you downloaded your ServerGrid.json, click on it and then press Open.
Step 7 ) Uncheck "Show Server Info" down the bottom of the editor.
Click on the Export menu up the top.
Click on Generate Slippy Map (Optional Tools)
Browse to where you wish to store these files, Make New Folders called SlippyMap, select this new folder and then press OK.
Your server will now generate your maps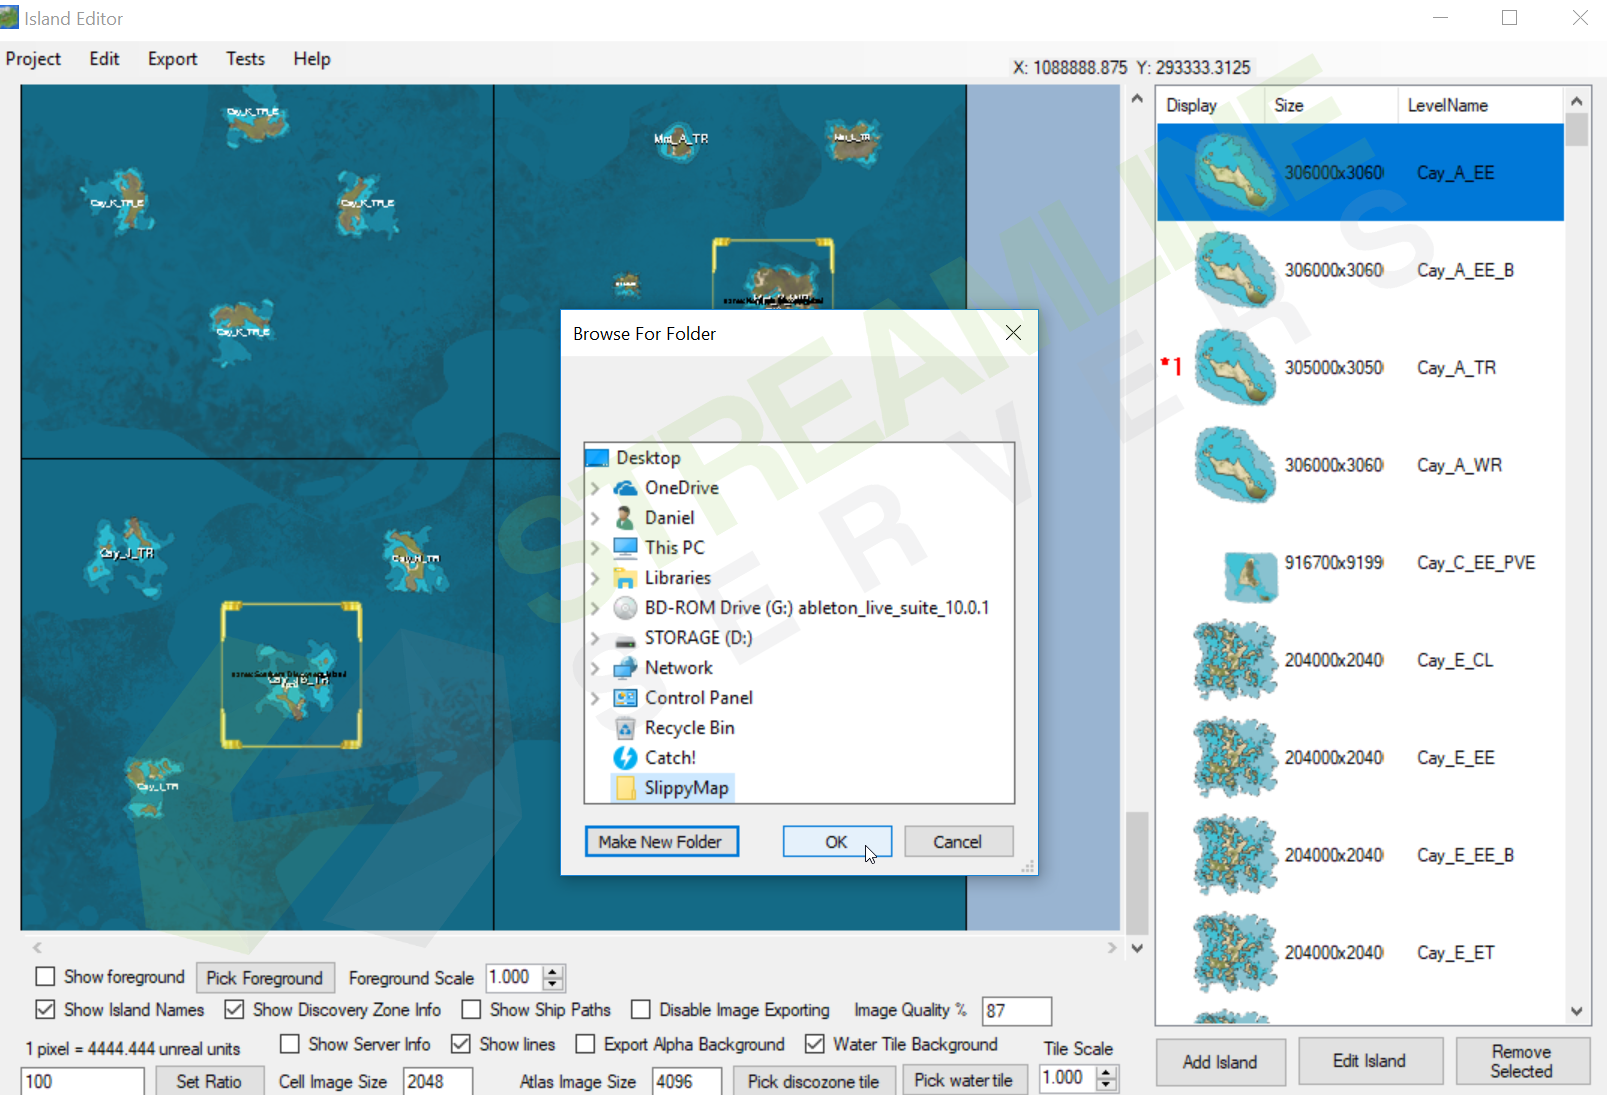
Step 8 )
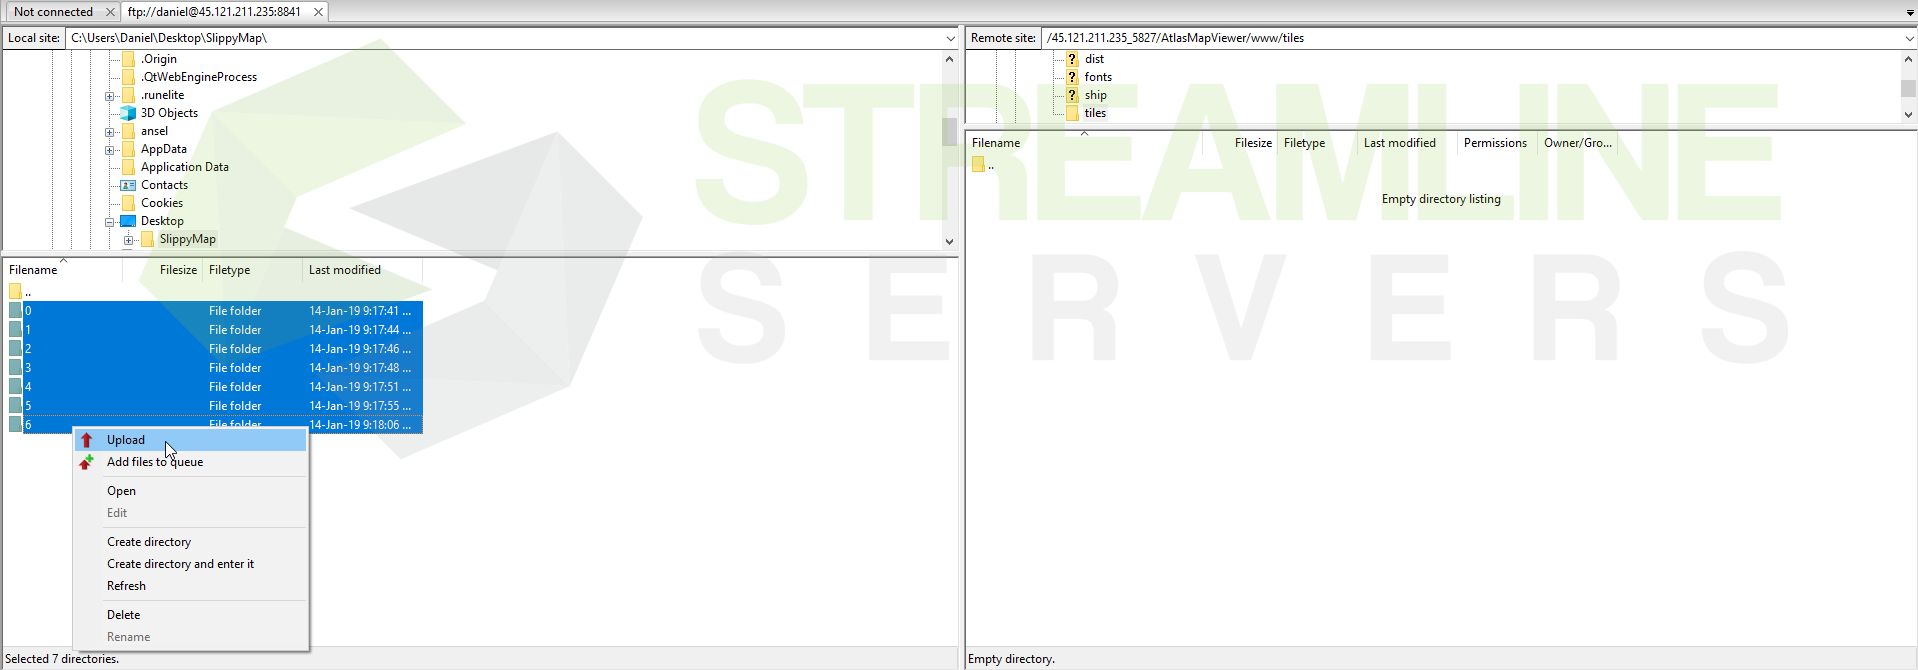
Login to the FTP of your master server.
What is FTP: https://streamline-servers.com/billing/knowledgebase/5/What-is-FTP.html
How to Access FTP: https://streamline-servers.com/billing/knowledgebase/29/TCAdmin-FTP.html
Browse to the \AtlasMapViewer\www\tiles\ folder on your server, highlight and delete the files within and upload the ones you exported on your PC.
Step 9 ) Go back to your Game Panel and start your server up, click on the Start Atlas Map Viewer button, and then click on the View Web Map button to view your map.